CAD, Construction
 3D Printing
 CAM, CNC
 3D Metrology
 PDM, MES
 Architecture, Construction
 Mechatronics & Robotics
 Image Processing
 Hardware
 CAD, Construction
 Mechatronics & Robotics

BUILD CONTACT FORM
How to create your personal contact form!
1
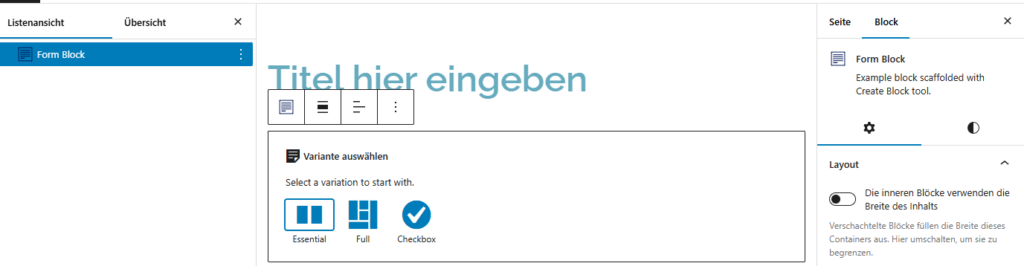
Insert
Select the“Form Block” in the Gutenberg Editor by clicking on“+“.
You can now choose a variant. “Full” already contains name, email and message fields as well as a send button and success/error message blocks.
2
Form fields
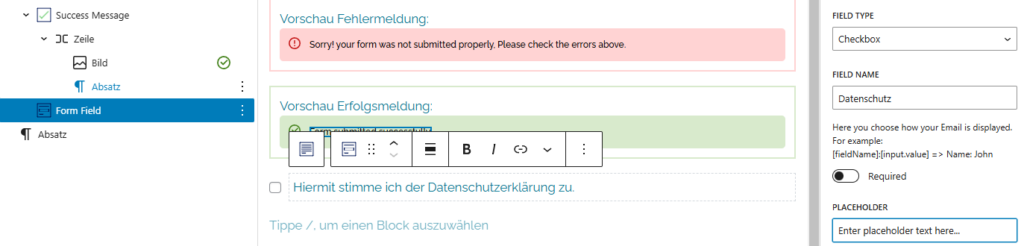
Now click on the “Form Block” and add further fields with“+” and select“Form Field“. On the right in the Inspector SideBar you can select which field you want to use under“Field Type“. The following fields are available:(Text, Email, Textarea, Checkbox, Radiobuttons, Select, File and Hidden).
Under “Field Name” you can name the fields (e.g. first name, telephone number, etc…). Under Placeholder you can enter the text that will be displayed as a placeholder in the frontend.
You can also make a field mandatory by selecting“required“.
3
Receiver
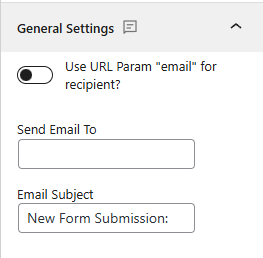
When you click on the “Form Block”, you can specify the email address to which the form should be sent under“Send Email To” in the Inspector sidebar on the right. You can also specify the subject of the email under“Email Subject“.
select“Use URL Param “email” for recipient?” if you pass on an email address as a URL parameter and the Form Block should read this as the recipient.
4
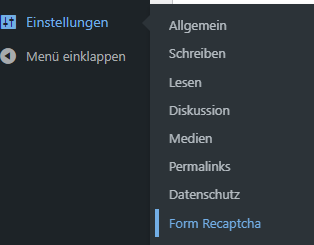
Recaptcha
You also have the option of securing your contact form against spam with Google Recaptcha v3. Add the“Form Captcha” block in the “Form Block”. In the Inspector SideBar you can set whether the Google badge should be at the bottom left or right. Now go to Settings in your Admin Dashboard and click on“Form Recaptcha“. There you can now enter your two Recaptcha keys and click “Save changes”.

5
Automatic
answer
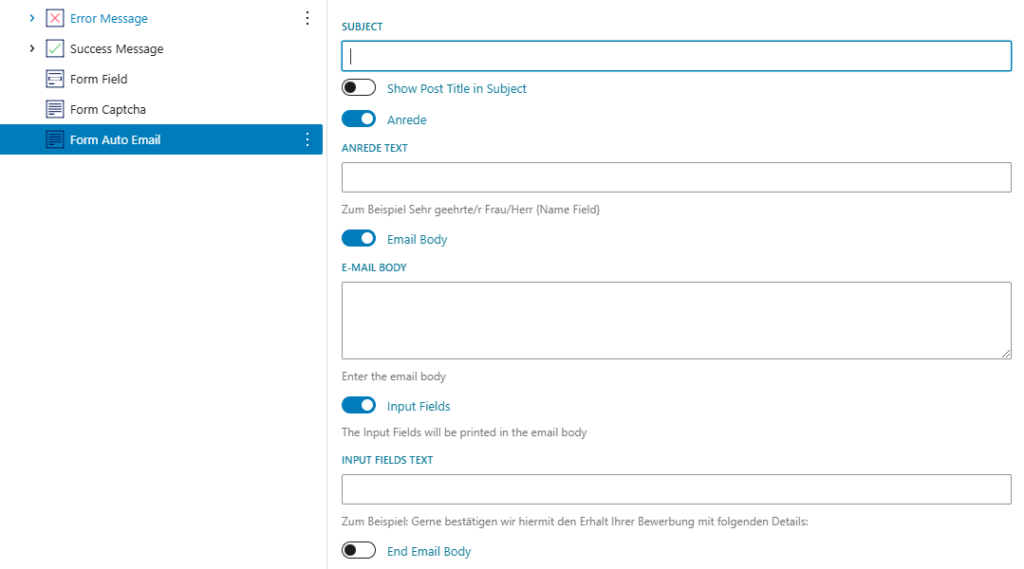
You can generate an automatic response as soon as someone submits a contact form. (e.g. Thank you for contacting us, we will get back to you shortly).
You can enter the subject under“SUBJECT“.“Show Post Title in Subject” determines whether the page title should be displayed in the subject. (e.g.: “Request for article #344234”).
You can also specify a salutation text. The form then takes the corresponding name from the field with “Field Name” Name or Surname.
Under Email Body you enter the message of your email.
“Input Fields” determines whether you want to list the data entered by the user again, e.g. for checking purposes.
“End Email Body” is an additional message at the end, such as a signature, etc., if desired.
6
email
template
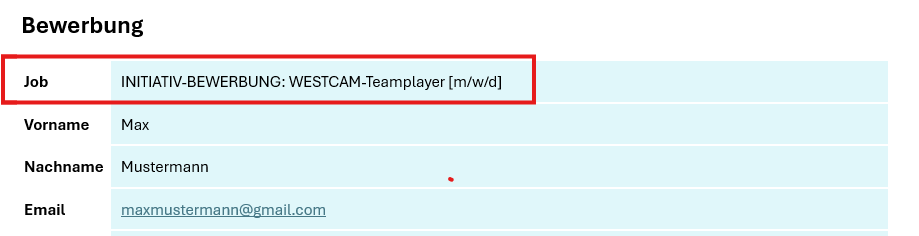
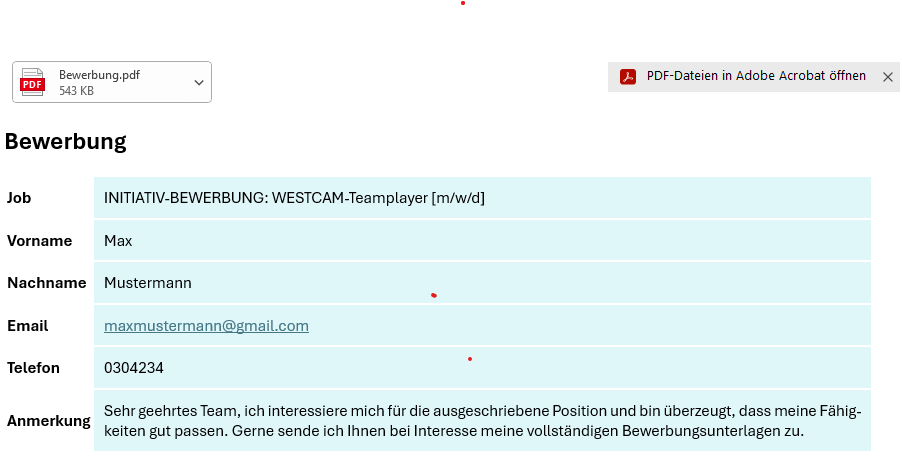
The “Form Block” automatically collects the input of all input fields and adds them to the email template.
It is therefore important that you enter the correct “Field Name” for the individual fields, e.g. here (Job, First name, Last name, etc.)
See the following example of the email template
7
Dynamic
field
You can also insert a dynamic field with“Form Field Dynamic” with which you can either read out the Post Title, the Post ID or Post Meta and either display it or pass it on to the email template as a hidden field. Under “Hidden Input Name” you can again specify what the field should be called in the email template.

Here as an example “Post Title” and as “Hidden Input Name”: Job