Practical accessories
Practical information about your ZEISS optical measuring equipment
Complete your Metrology equipment with our high-quality accessories. From consumables to special extensions, we offer you everything you need to supplement your ZEISS systems and make everyday use of the Metrology equipment easier.
- Reference marks for your ZEISS scanner
- Efficient automation accessories
- Surface treatment for your samples

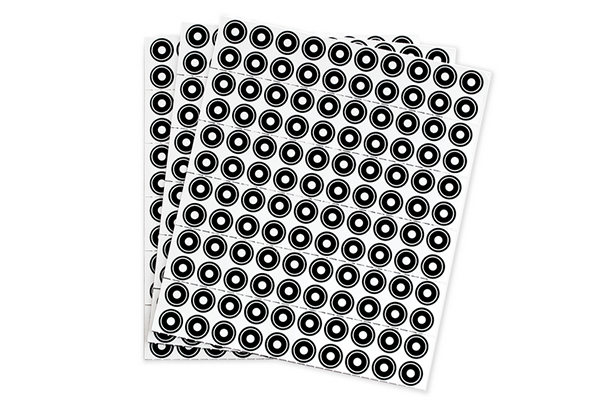
Reference marks
The right reference marks are available for your individual system configuration. From 0.4mm to 25mm dot diameter, you can choose between 3 available adhesive thicknesses. Self-adhesive markers are commonly used, but reusable magnetic versions are also available for certain applications.
For high-speed applications, we naturally also have a wide range of retro-reflective variants in our range.
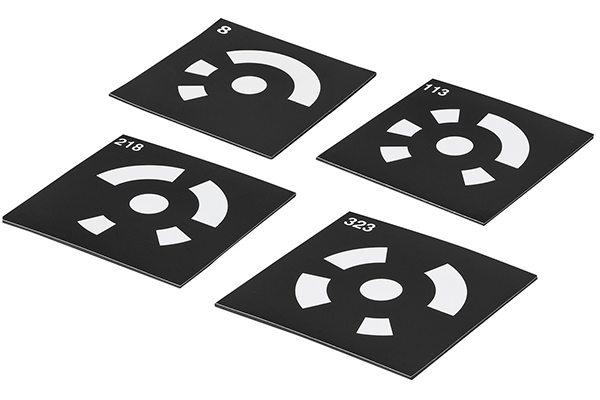
Reference marks
A wide variety of coded reference marks for photogrammetric applications can also be obtained from WESTCAM. Please note that no double coding should be used within a measurement and therefore let us know which coding is already in use in your company when you make your inquiry!
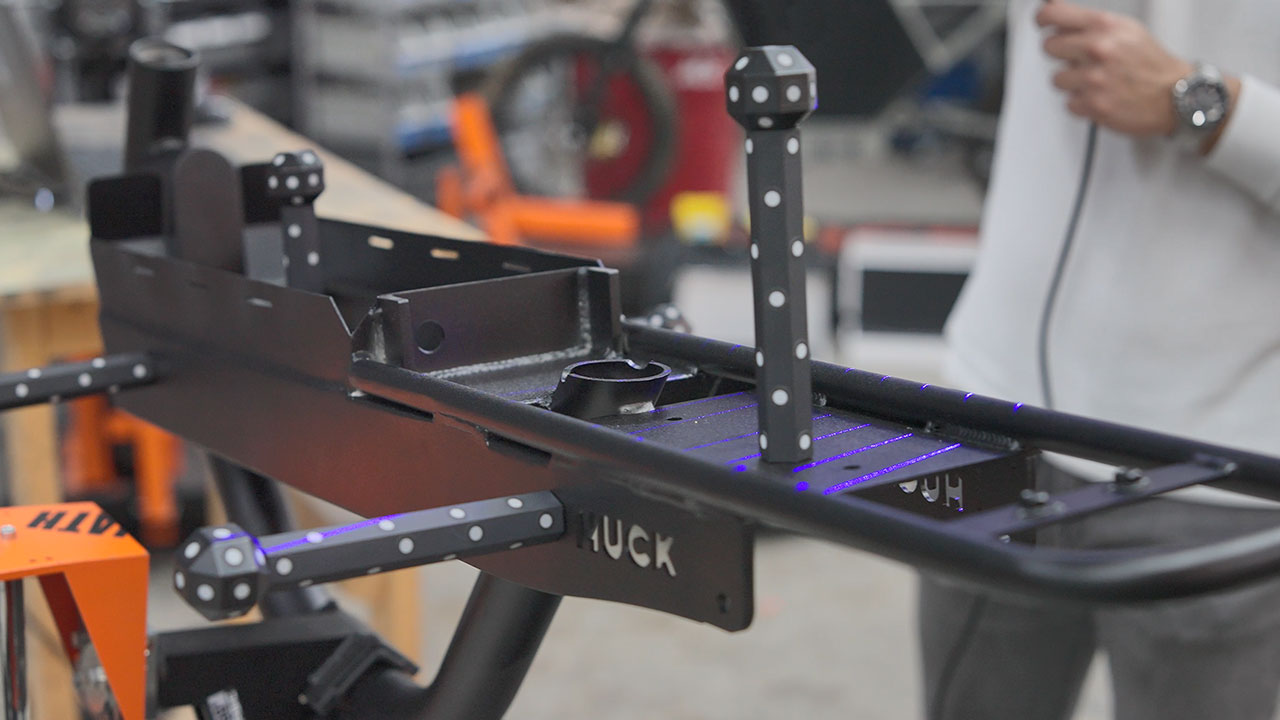
Magnetic reference column set
New in the portfolio: magnetic reference columns incl. magnetic polyhedrons (for marker sizes up to 6mm inner diameter)
Ideal for quick preparation of your measurement project.
Suitable for ATOS, GOM Scan 1 and T-SCAN hawk 2.

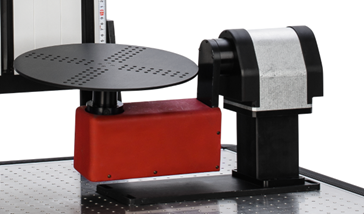
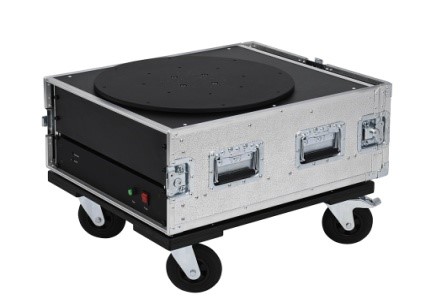
Turntables – manual and automated
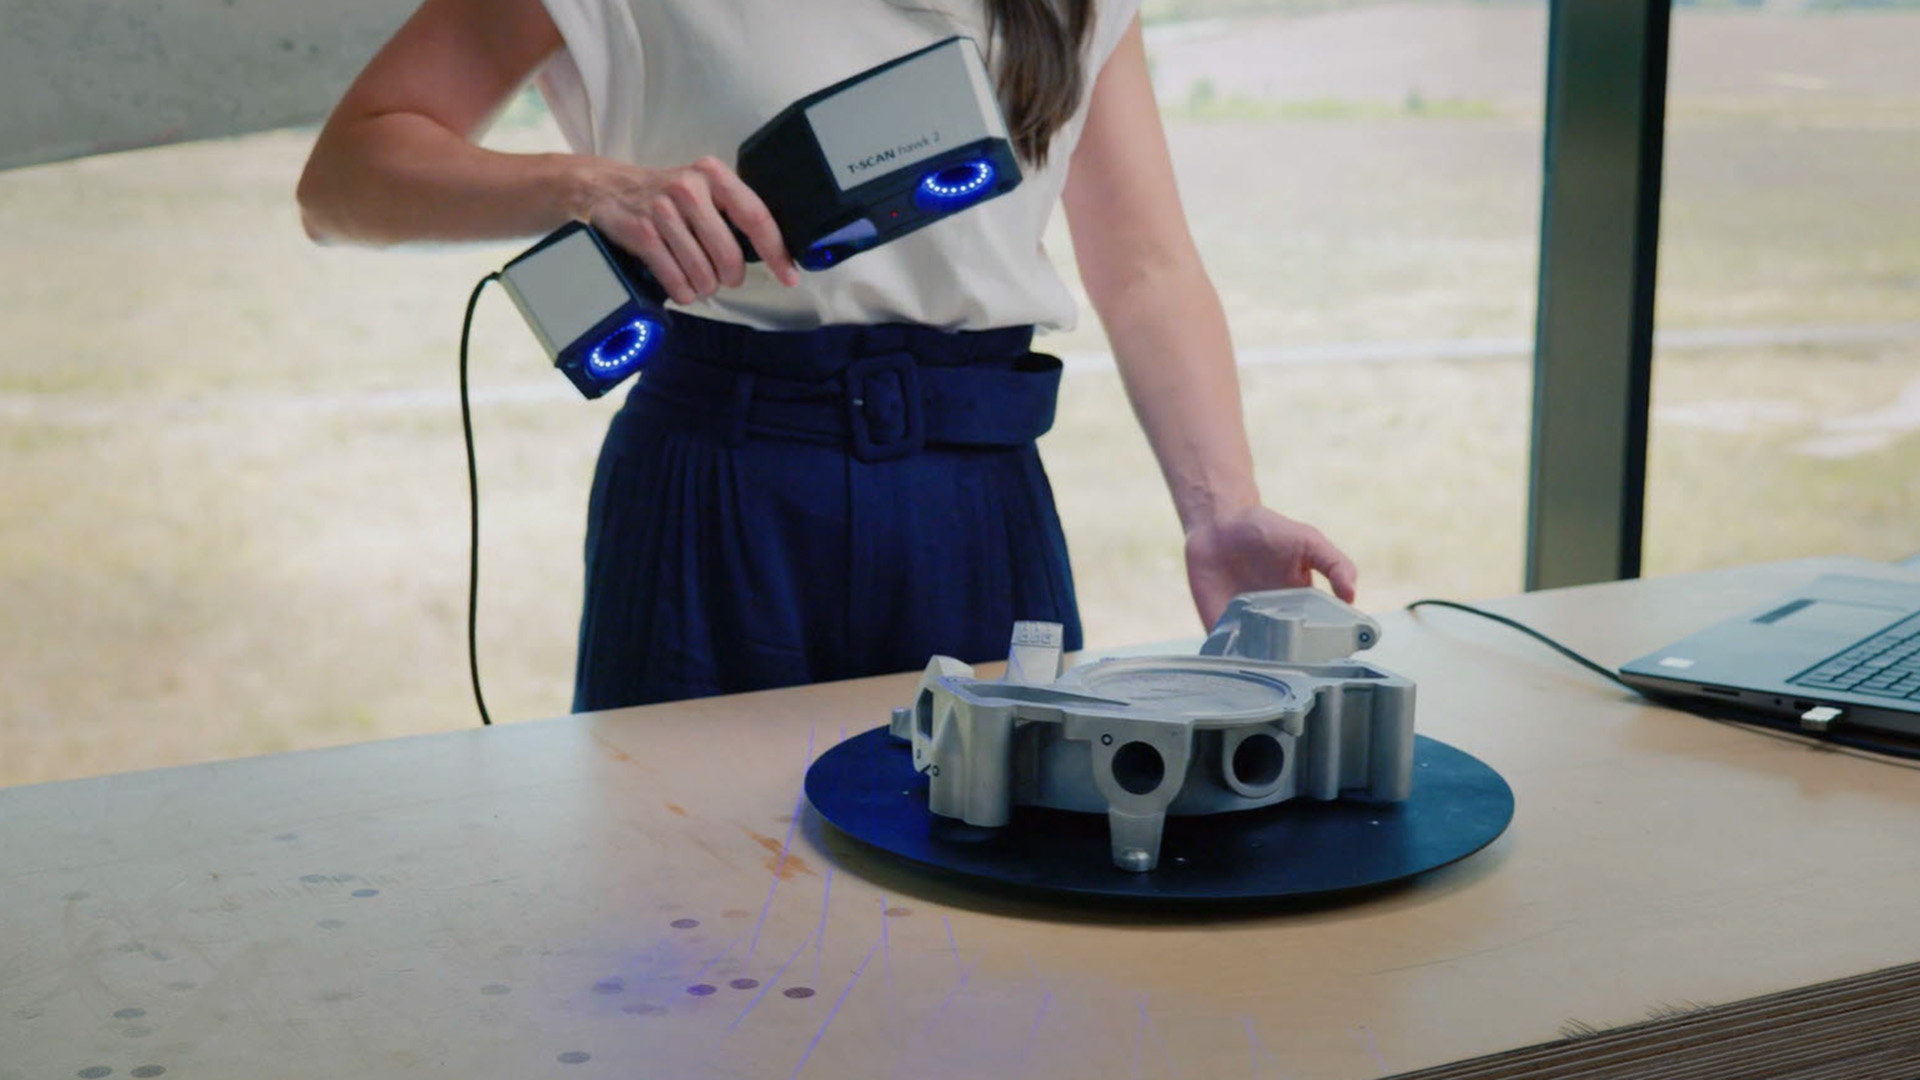
The automatic ROT rotary table models are controlled directly from the ZEISS software and interact intelligently with the data acquisition: if movement is detected during the measurement, it is repeated automatically. We can offer standard solutions for your measurement application up to a component weight of 150 kg.
Our rotation and swivel unit is also suitable for small and lightweight measurement objects, which can influence both the component rotation and the viewing direction of the component.

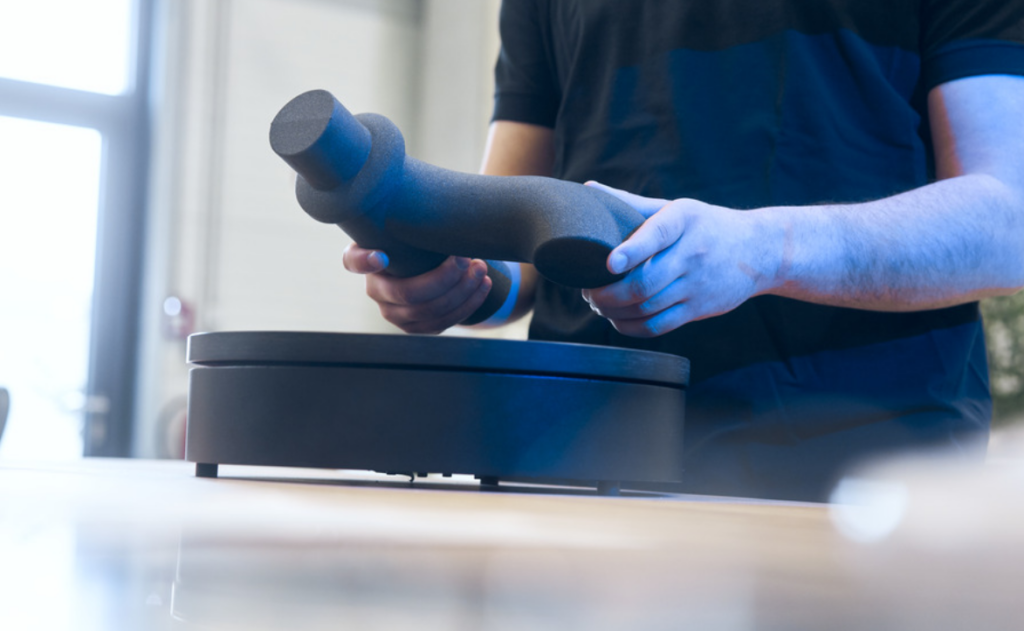

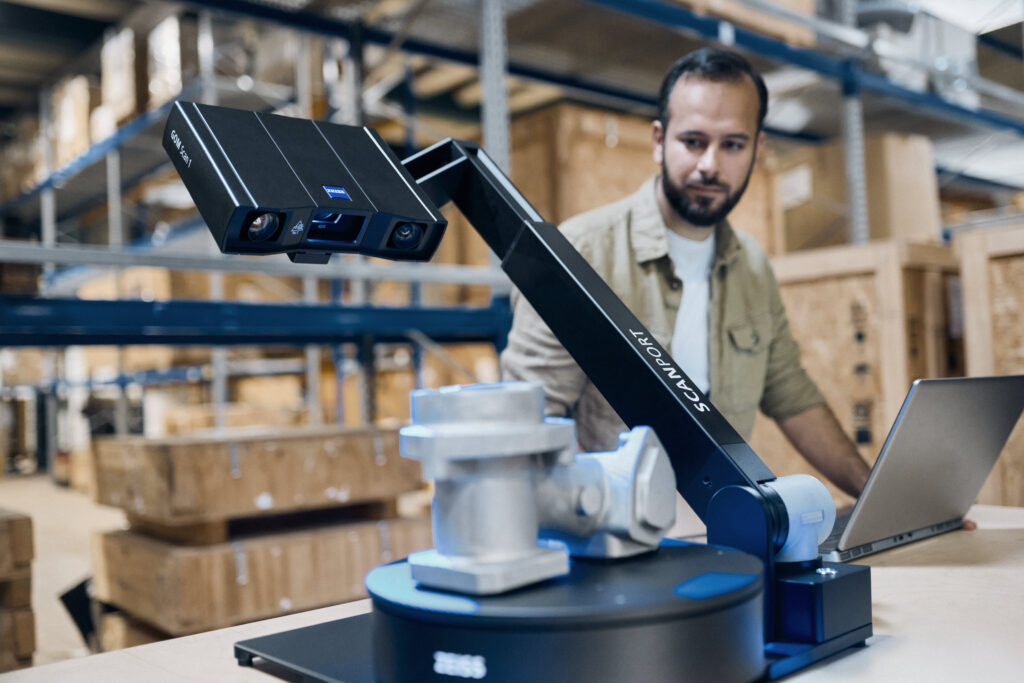
ZEISS ScanPort
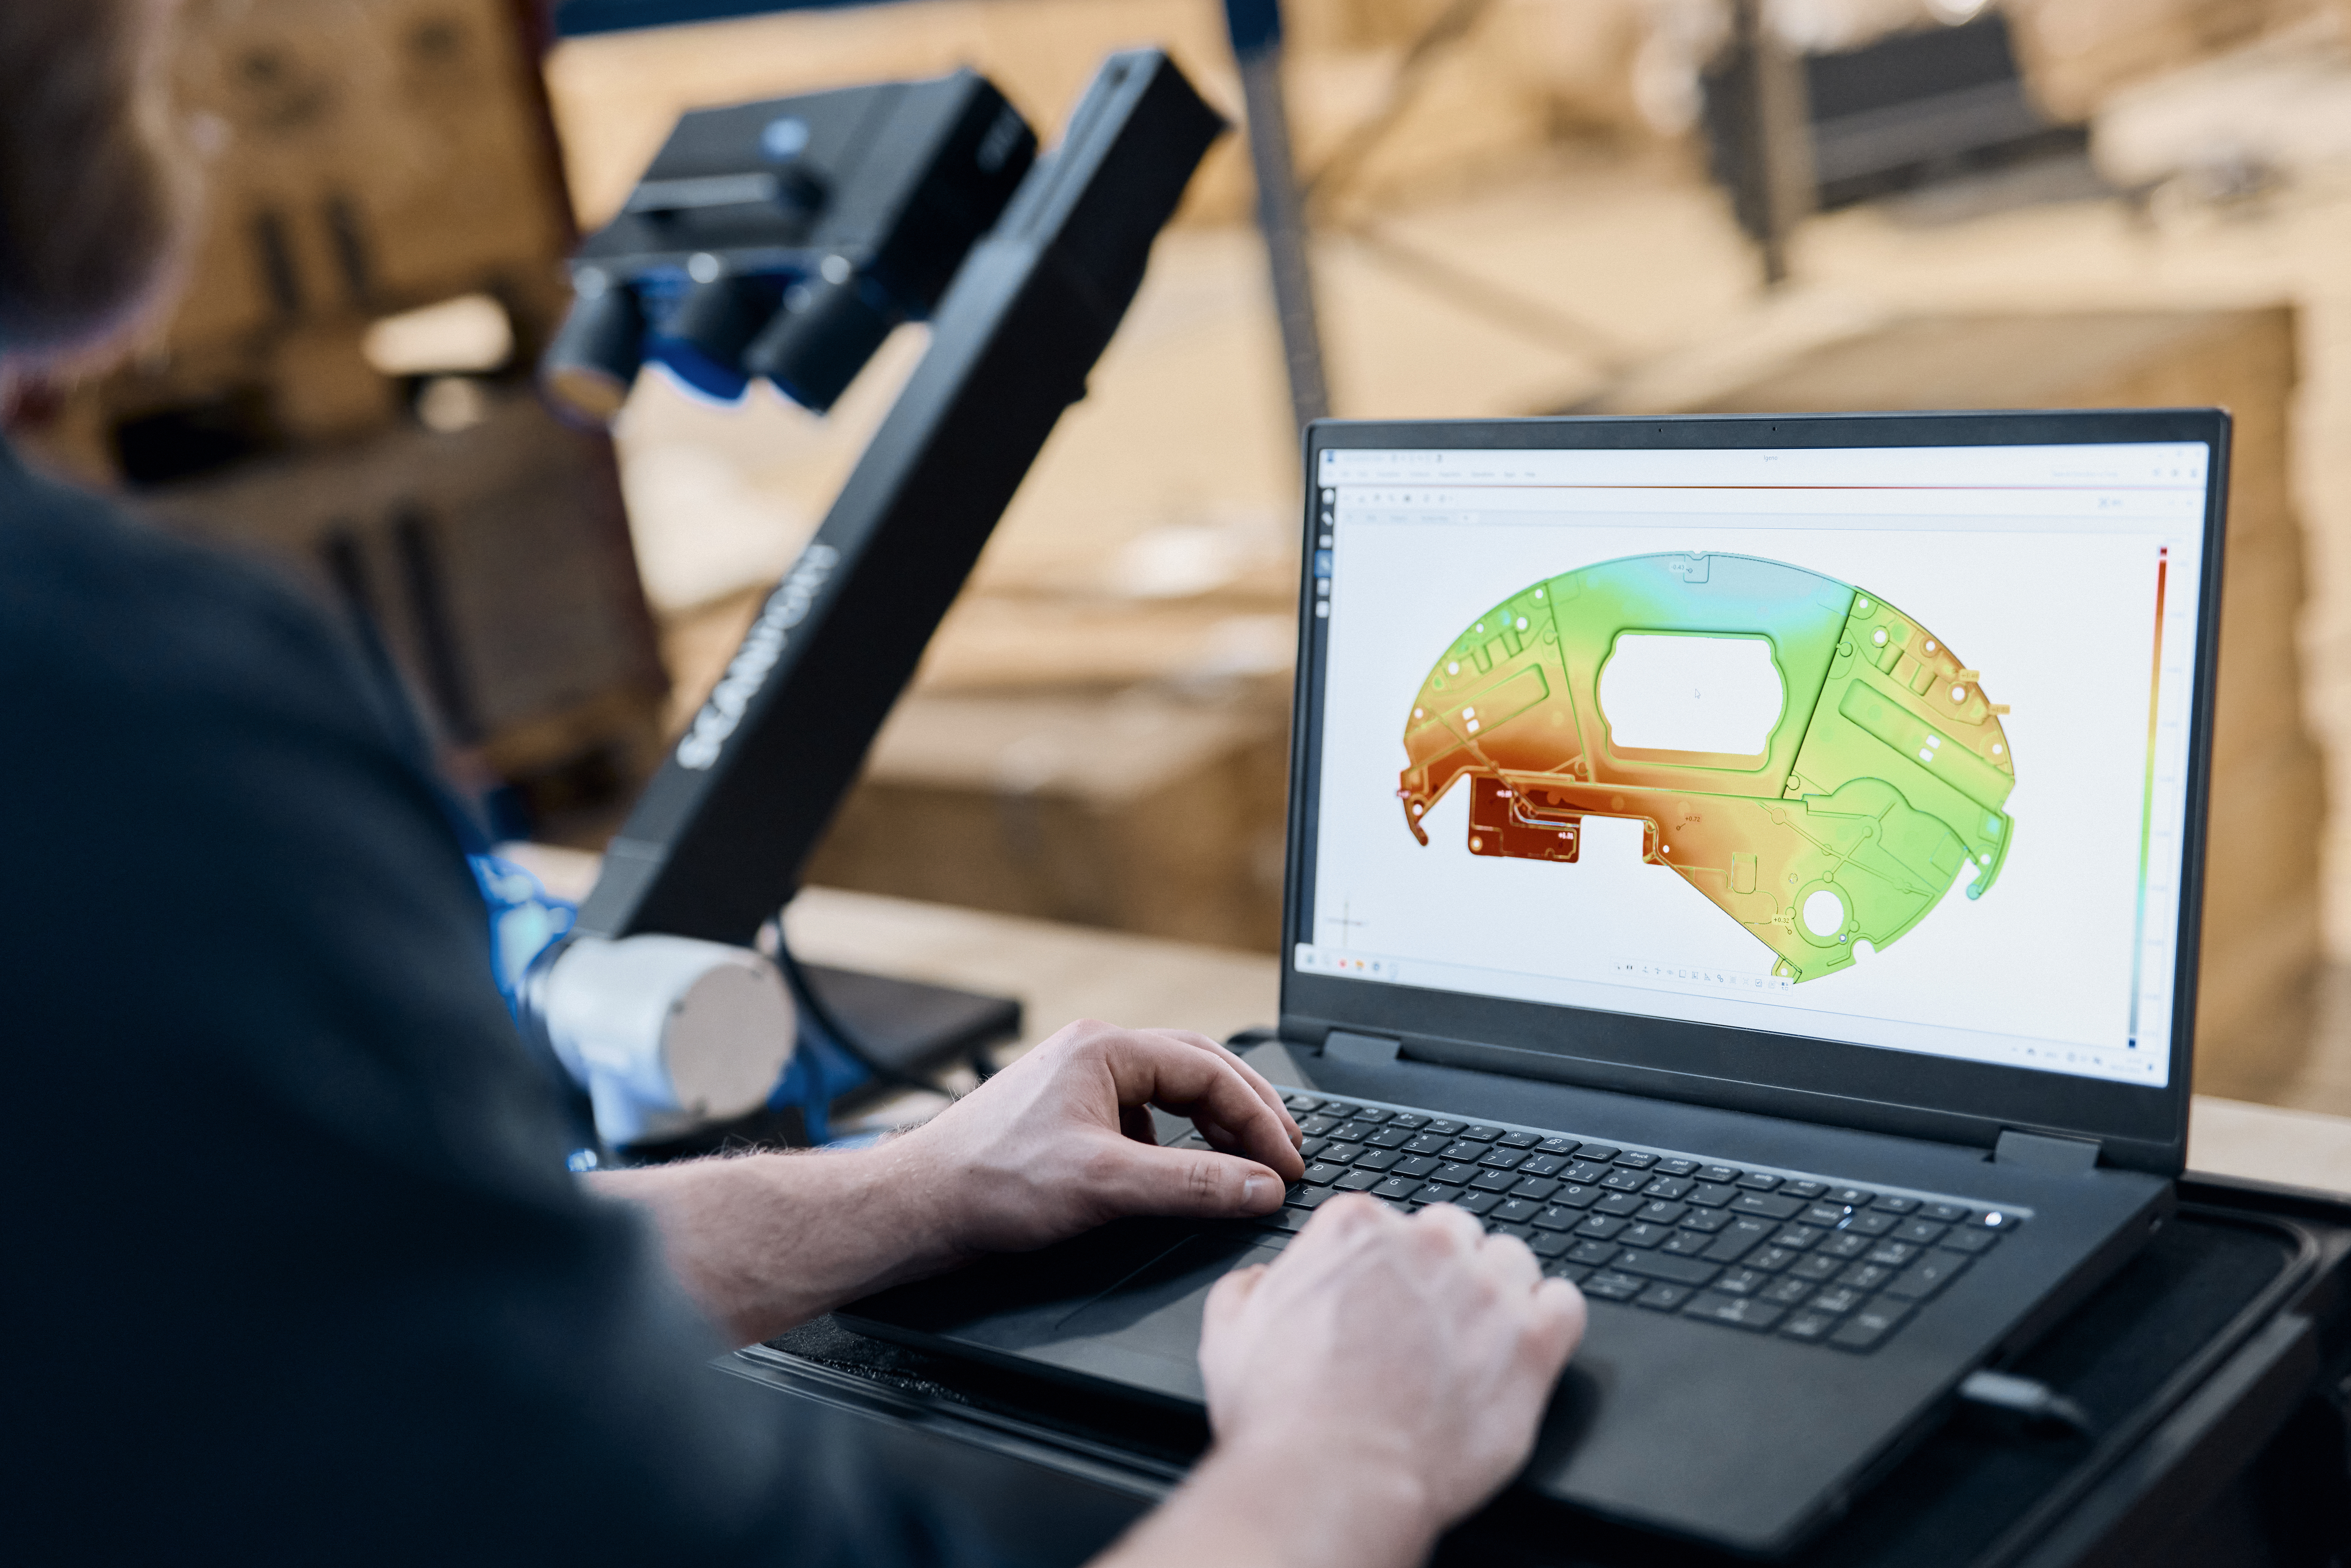
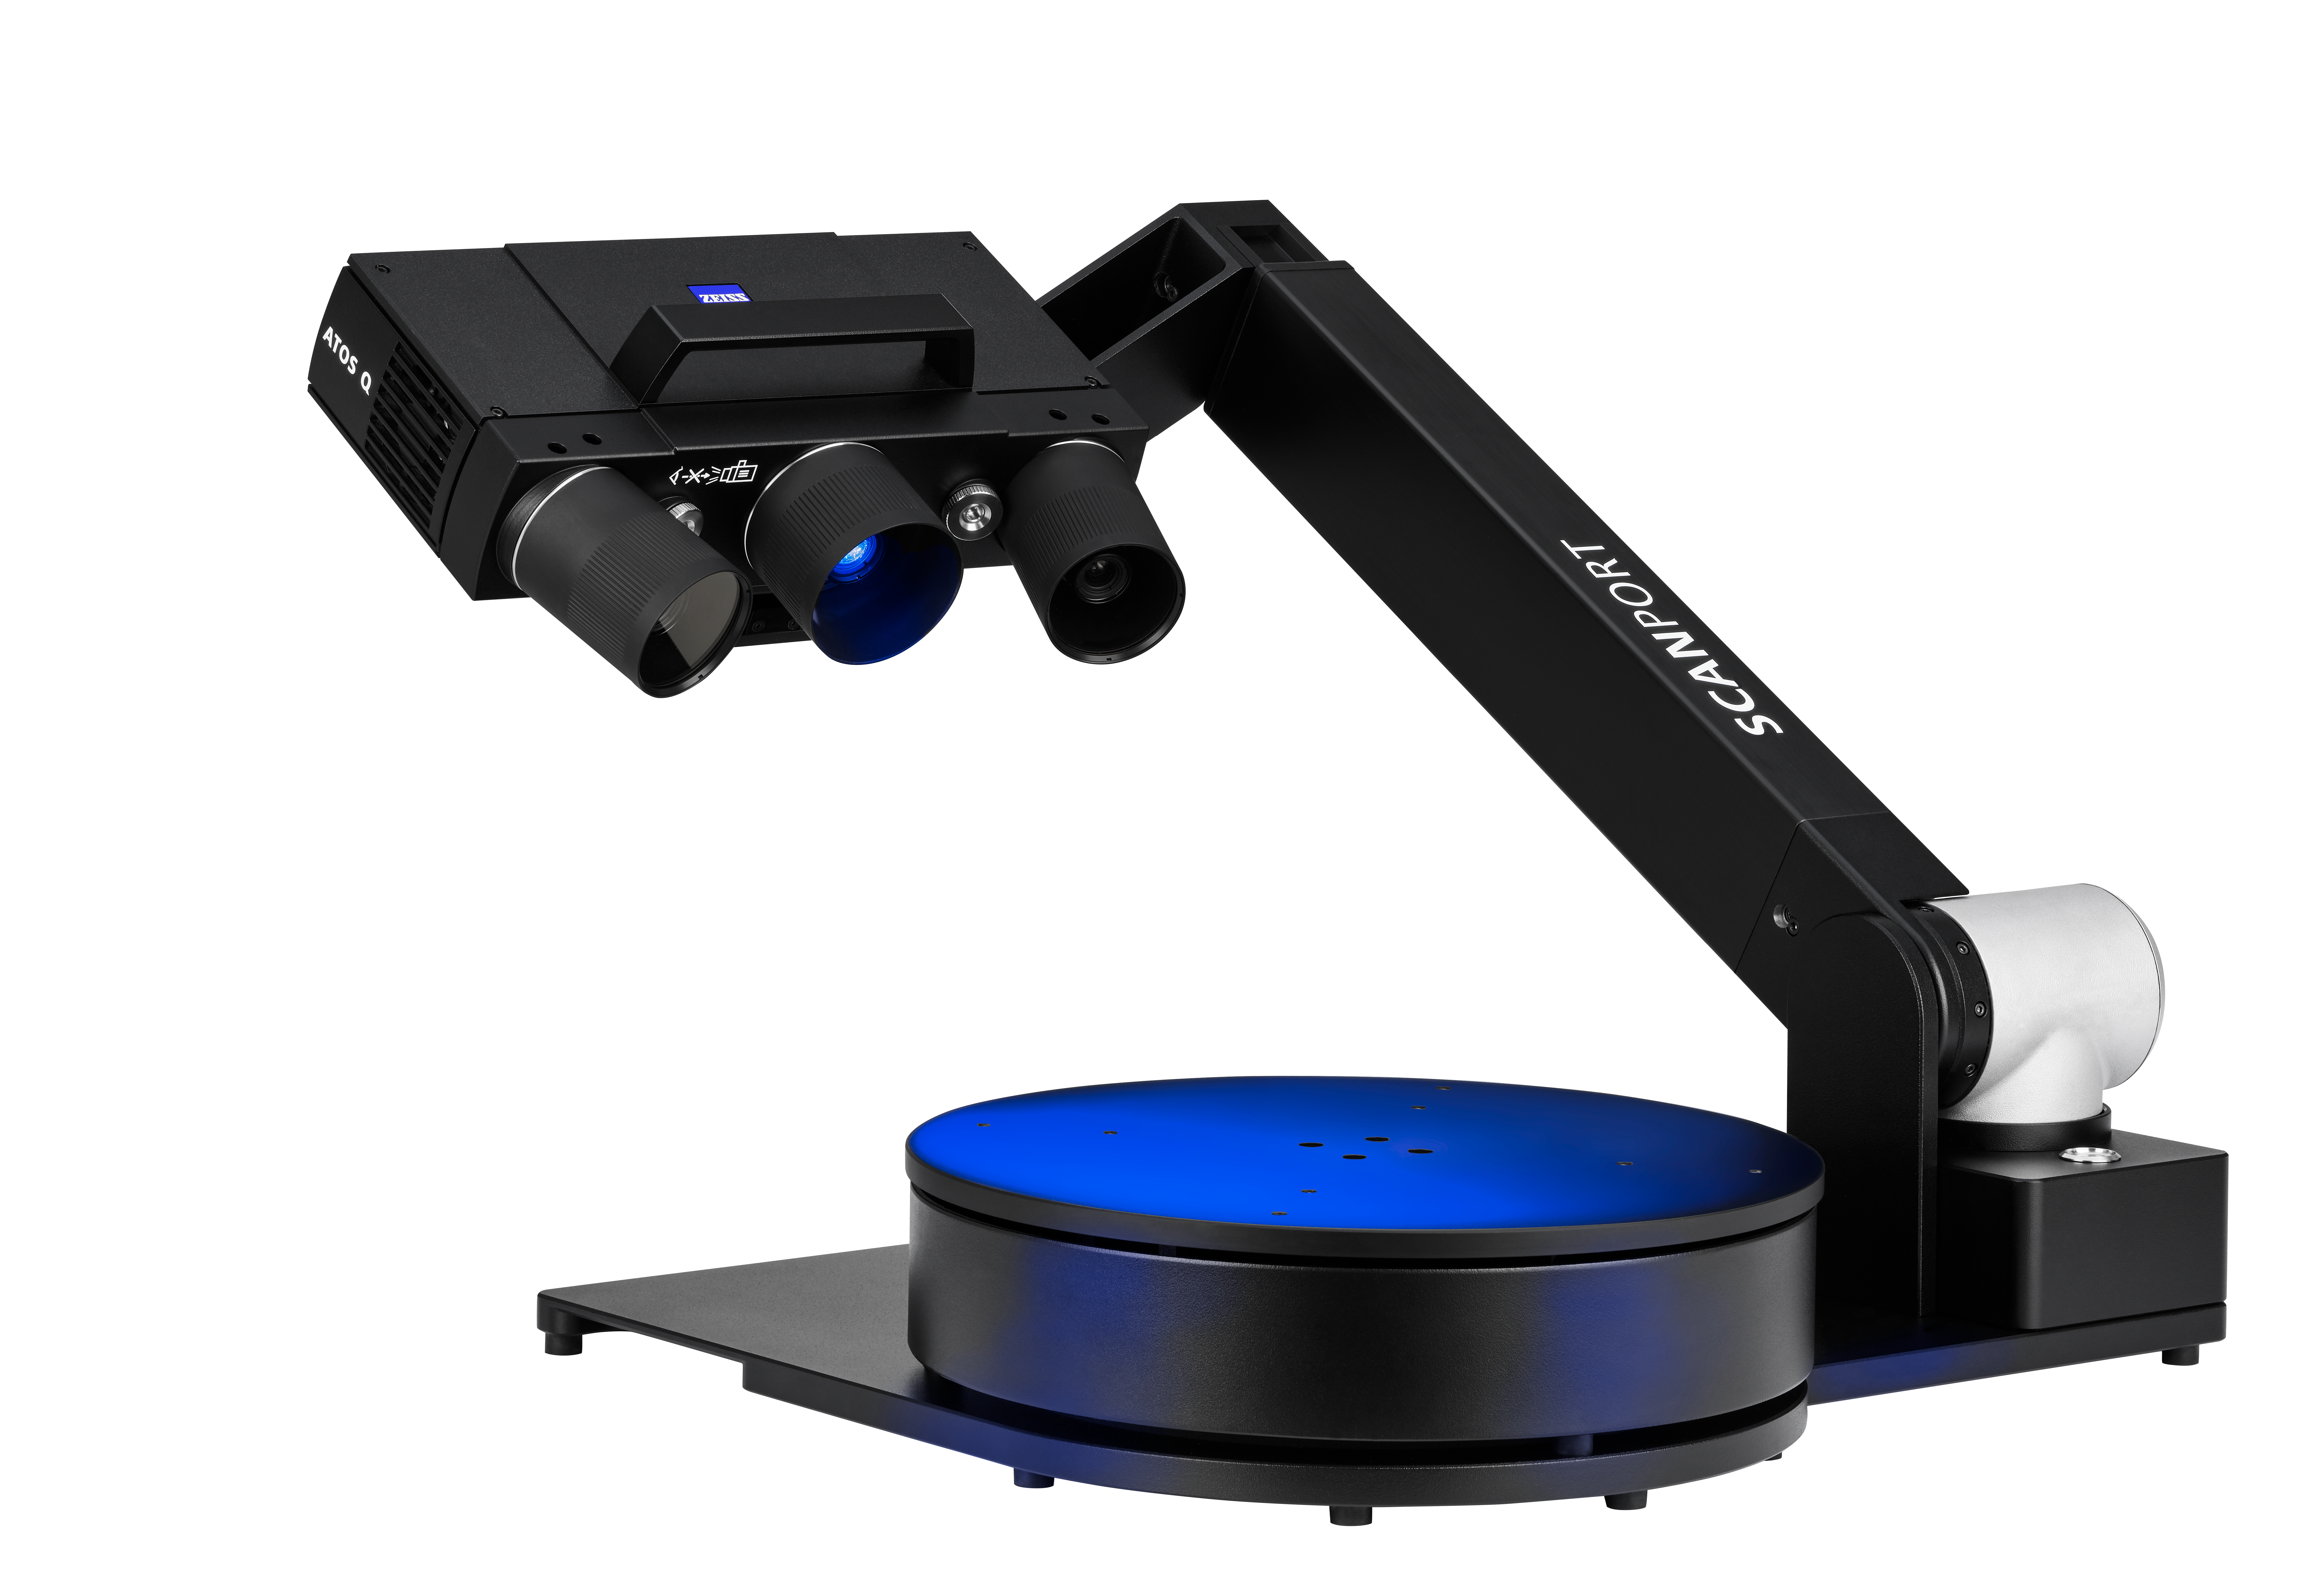
The ZEISS ScanPort offers a semi-automated solution for precise 3D measurements directly on the shop floor. Developed for small to medium-sized components, it combines metrological accuracy with simple operation – ideal for CAD comparisons, dimensional analyses and reverse engineering.
Fields of application: Automotive industry, aerospace, mechanical engineering.
ZEISS ScanPort – Core functions
Core functions:
Compact, modular design
Flexible integration or mobile use; scanner can also be removed for larger components.
Automated 3-axis system
Including motorized turntable for full coverage without manual readjustment.
Blue Light technology & ISO 10360 conformity
Delivers high-resolution 3D data in measurable quality.
Motion replay function
Accurate repeat scans at the touch of a button – ideal for series inspections.
Kiosk mode & scan templates
Intuitive use even without previous Metrology knowledge.
Scanning spray
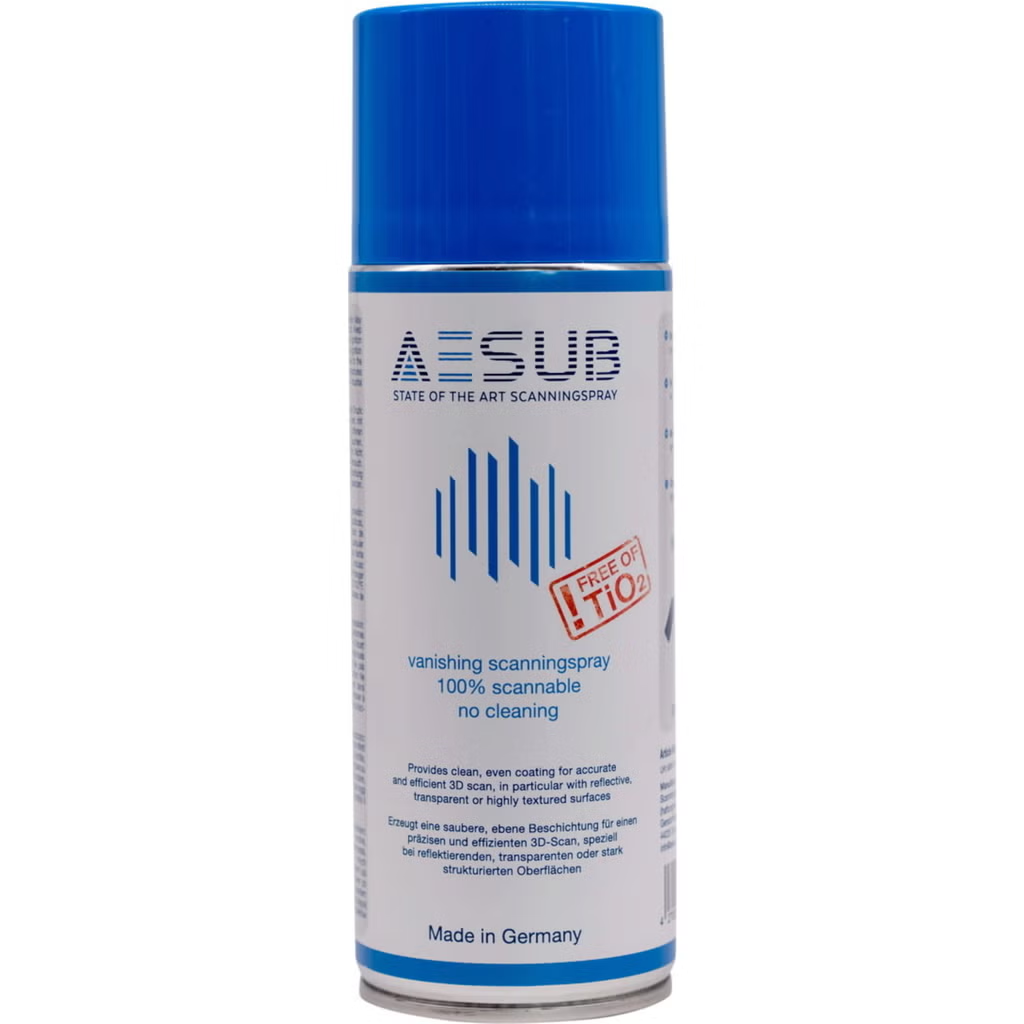
Depending on the requirements, there are different pre-treatment options to make “uncooperative” surfaces elegantly measurable:
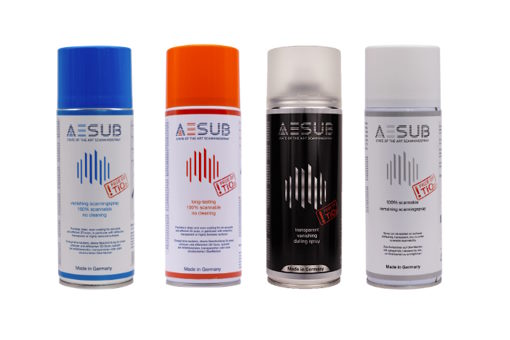
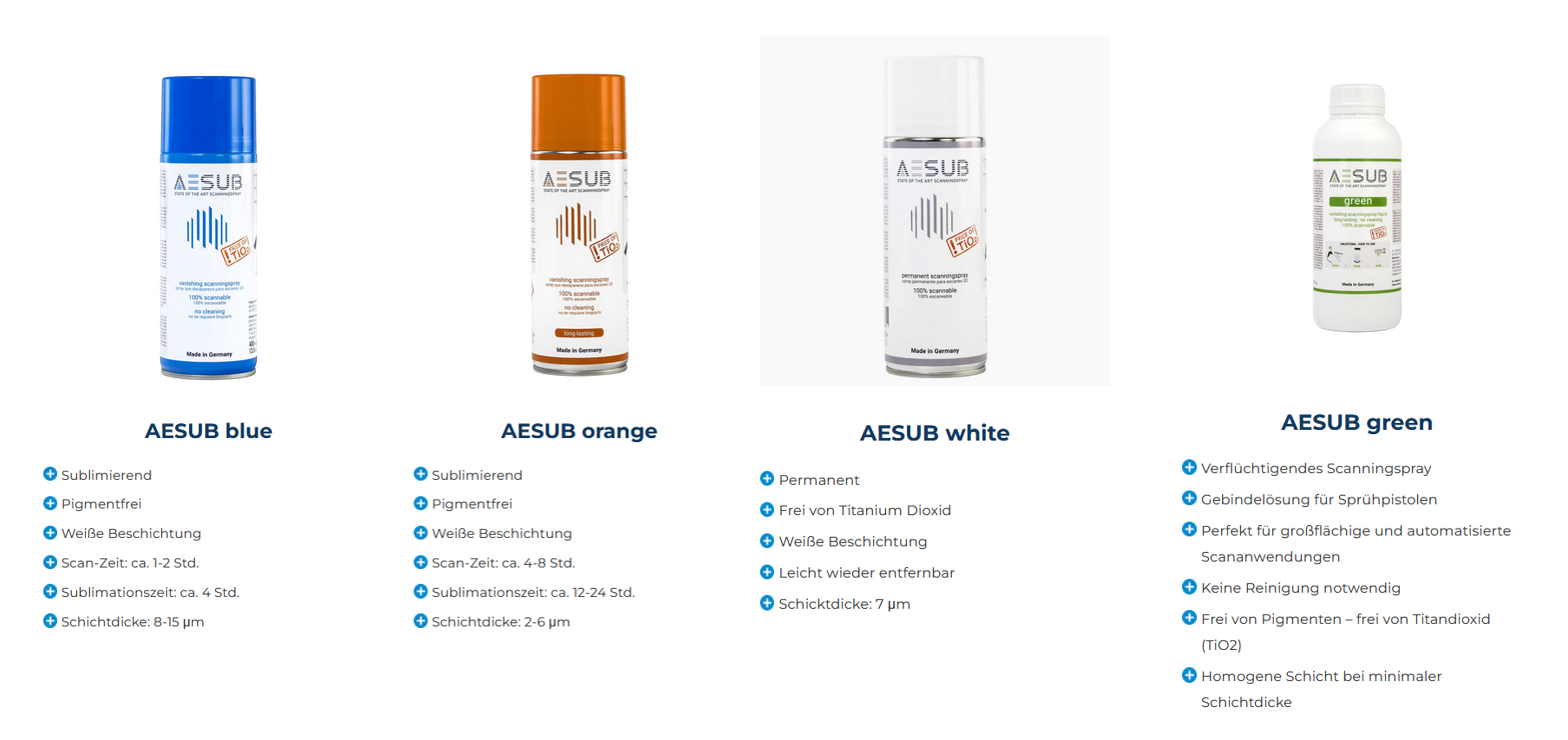
The various AESUB sprays from the spray can or as a container solution have proved very successful in recent years. Most of these coatings (e.g. AESUB Orange or AESUB Blue) dissolve completely after some time and leave no residue on the scan object. This completely eliminates the need for laborious component cleaning. Even fine structures can be pretreated, the material application is typically approx. 7-15µm. The spray is titanium dioxide-free.
Alternatively, the AESUB White Spray is available in a 400ml can as a permanent variant – also titanium dioxide-free.
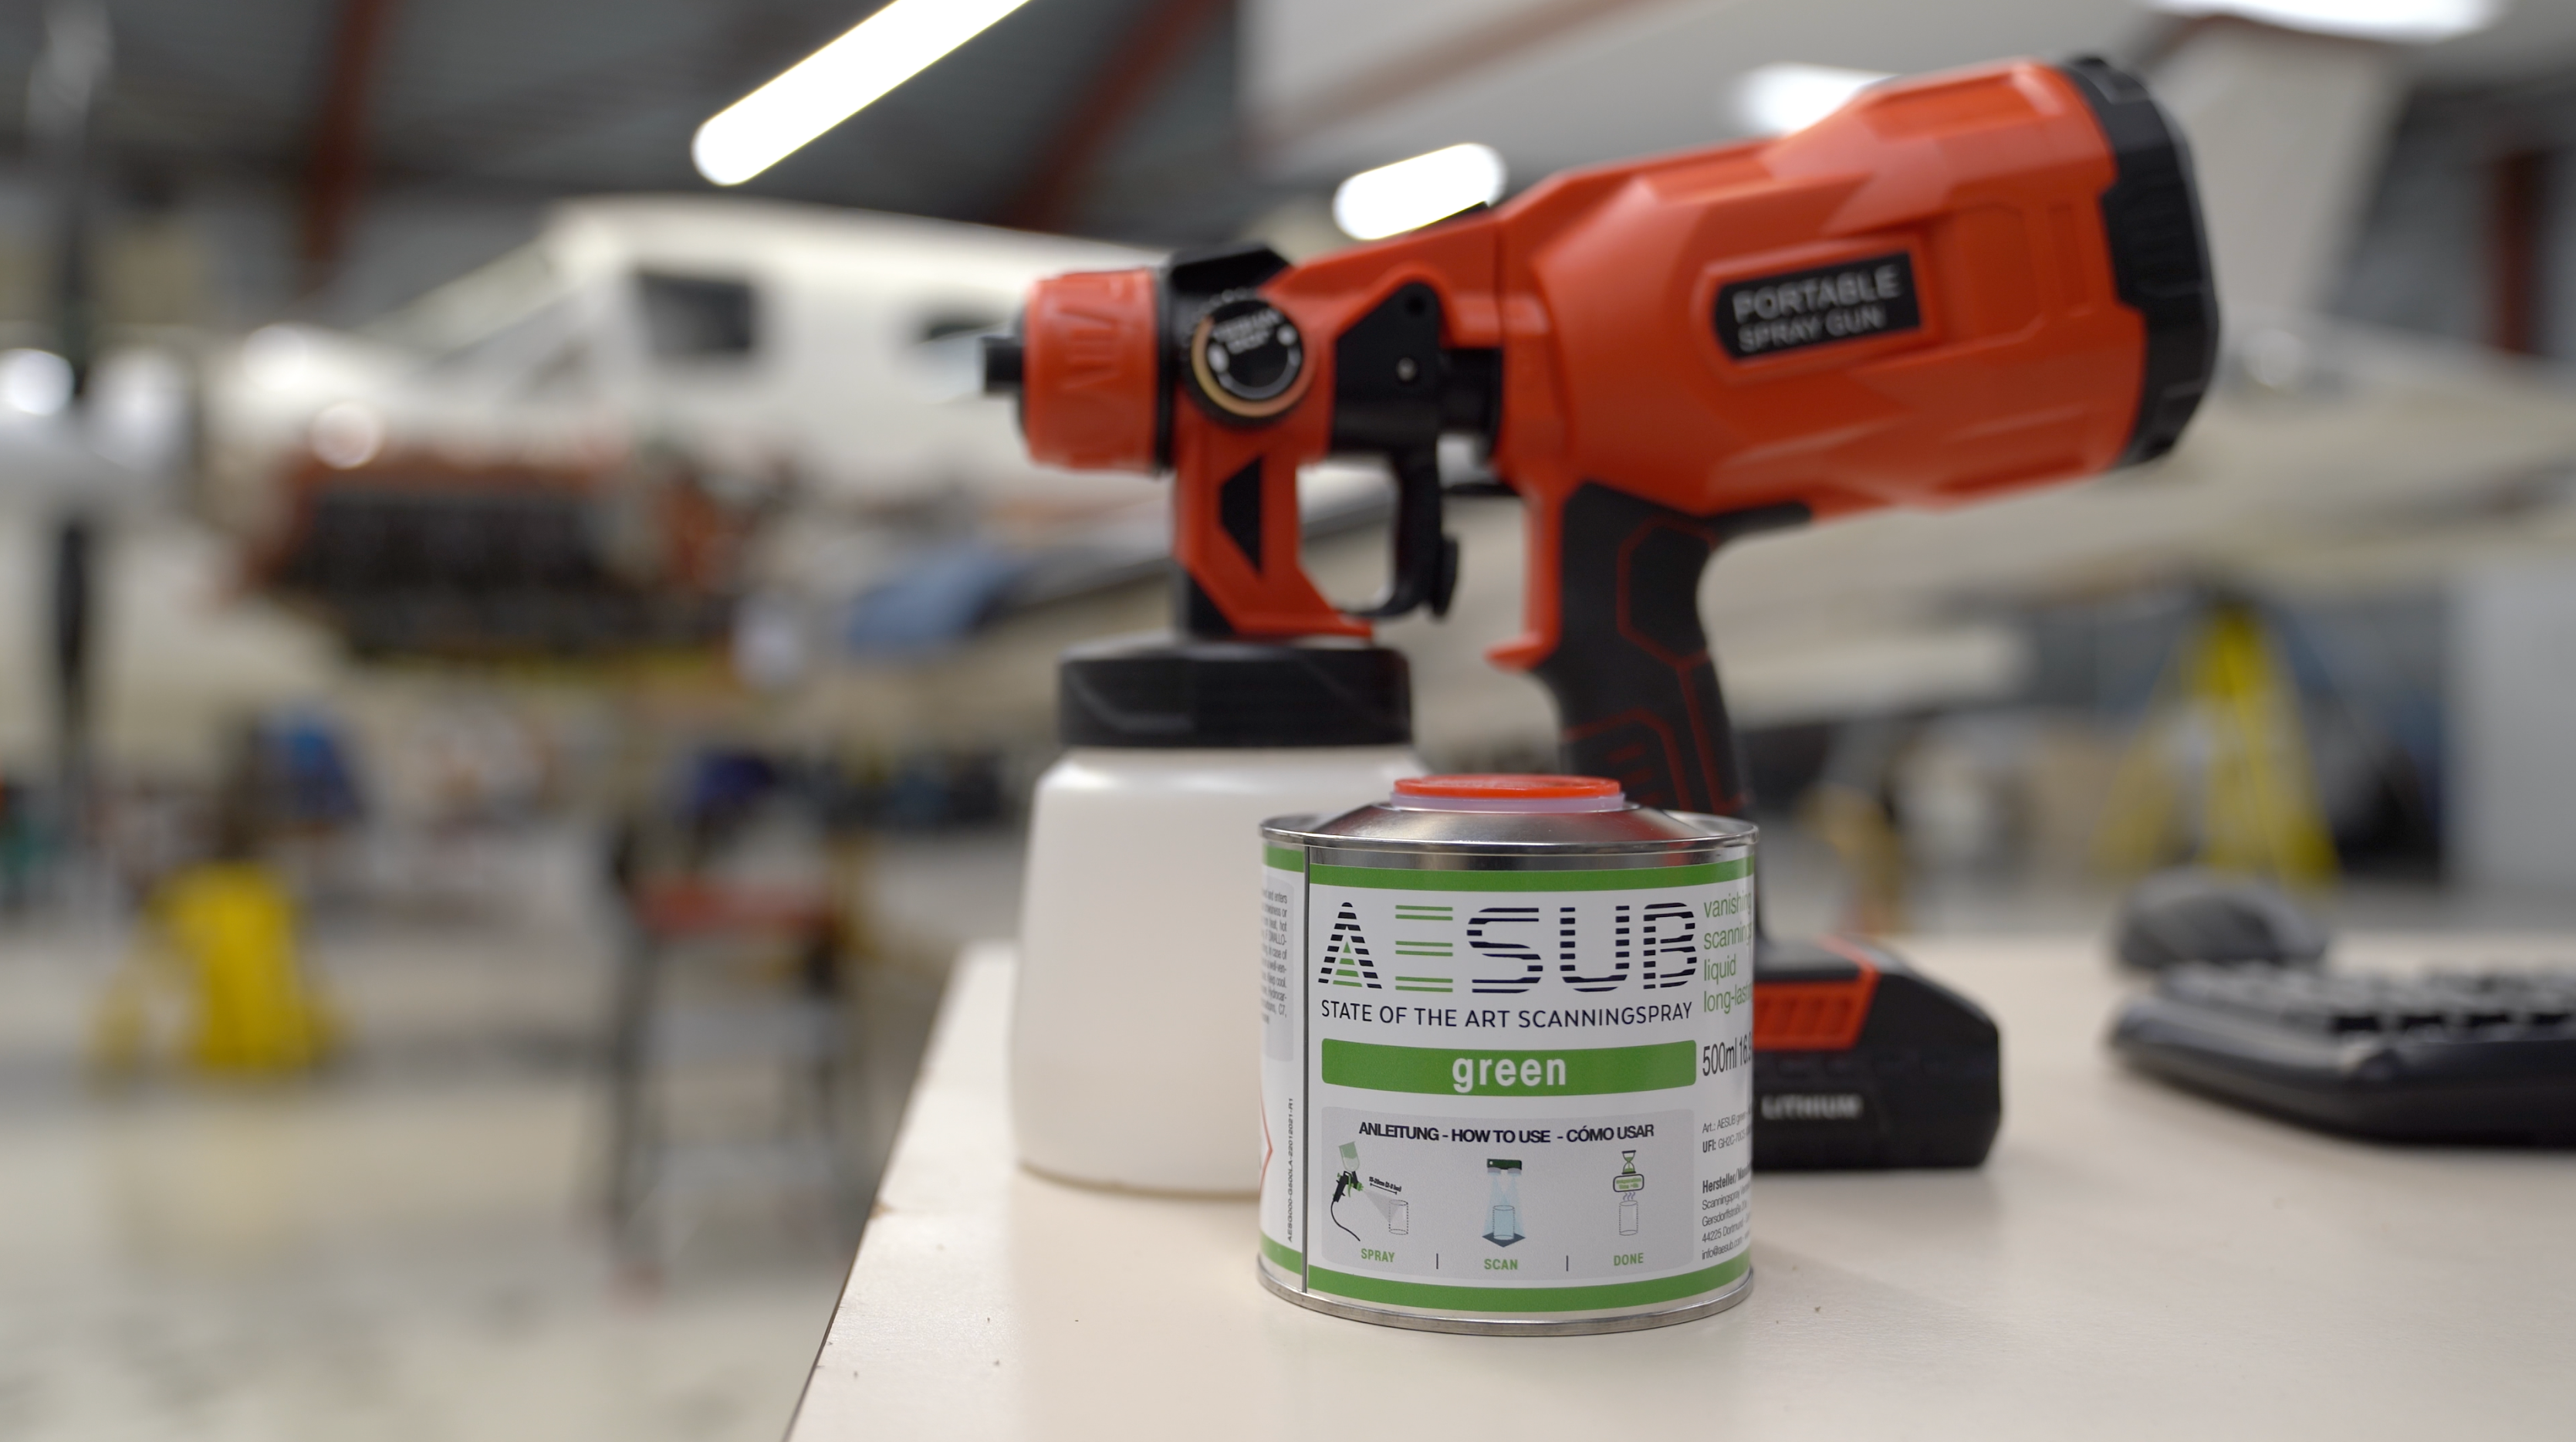
AESUB Green is particularly suitable for the pre-treatment of larger surfaces, is also self-volatilizing and is applied with a spray gun. The matching spray gun for AESUB Green is also available from us.
We advise you personally!
Gladly there for you

 Mechatronics & Robotics

